New to fastlane? Click here to open the installation & setup instructions first
1) Install the latest Xcode command line tools
xcode-select --install
2) Install fastlane
# Using RubyGems
sudo gem install fastlane -NV

# Alternatively using Homebrew
brew install fastlane
3) Navigate to your project and run
fastlane init
iOS Beta deployment using fastlane
Building your app
fastlane takes care of building your app using an action called build_app, just add the following to your Fastfile:
lane :beta do
  build_app(scheme: "MyApp")
end
Additionally you can specify more options for building your app, for example
lane :beta do
  build_app(scheme: "MyApp",
            workspace: "Example.xcworkspace",
            include_bitcode: true)
end
Try running the lane using
fastlane beta
If everything works, you should have a [ProductName].ipa file in the current directory. To get a list of all available parameters for build_app, run fastlane action build_app.
Codesigning
Chances are that something went wrong because of code signing at the previous step. We prepared our own Code Signing Guide that helps you setting up the right code signing approach for your project.
Uploading your app
After building your app, it's ready to be uploaded to a beta testing service of your choice. The beauty of fastlane is that you can easily switch beta provider, or even upload to multiple at once, without any extra work.
All you have to do is to put the name of the beta testing provider of your choice after building the app using build_app:
lane :beta do
  sync_code_signing(type: "appstore")    # see code signing guide for more information
  build_app(scheme: "MyApp")
  upload_to_testflight
  slack(message: "Successfully distributed a new beta build")
end
fastlane automatically passes on information about the generated .ipa file from build_app to the beta testing provider of your choice.
To get a list of all available parameters for a given action, run
fastlane action slack
Beta testing services
TestFlight
You can easily upload new builds to TestFlight (which is part of App Store Connect) using fastlane. To do so, just use the built-in testflight action after building your app
lane :beta do
  # ...
  build_app
  upload_to_testflight
end
Some example use cases
lane :beta do
  # ...
  build_app

  # Variant 1: Provide a changelog to your build
  upload_to_testflight(changelog: "Add rocket emoji")

  # Variant 2: Skip the "Waiting for processing" of the binary
  #   While this will speed up your build, it will not distribute
  #   the binary to your tests, nor set a changelog
  upload_to_testflight(skip_waiting_for_build_processing: true)
end
If you used fastlane init to setup fastlane, your Apple ID is stored in the fastlane/Appfile. You can also overwrite the username, using upload_to_testflight(username: "bot@fastlane.tools").
To get a list of all available options, run
fastlane action upload_to_testflight
With fastlane, you can also automatically manage your beta testers, check out the other actions available.
Firebase App Distribution
Install the Firebase App Distribution plugin:
fastlane add_plugin firebase_app_distribution
Authenticate with Firebase by running the firebase_app_distribution_login action (or using one of the other authentication methods):
fastlane run firebase_app_distribution_login
Then add the firebase_app_distribution action to your lane:
lane :beta do
  # ...
  build_app

  firebase_app_distribution(
    app: "1:123456789:ios:abcd1234",
    groups: "qa-team, trusted-testers"
  )
  # ...
end
For more information and options (such as adding release notes) see the full Getting Started guide.
HockeyApp
lane :beta do
  # ...
  build_app
  hockey(api_token: "[insert_key_here]")
end
To get your API token, open API Tokens in Account Settings. From there, you can find your existing API token, or create a new one.
To get a list of all available options see the hockey action docs, or run
fastlane action hockey
TestFairy
lane :beta do
  # ...
  build_app

  testfairy(api_key: "[insert_key_here]")

  # Variant 1: Provide a changelog
  testfairy(api_key: "[insert_key_here]",
            comment: "Add rocket emoji")

  # Variant 2: Specify tester groups
  testfairy(api_key: "[insert_key_here]", testers_groups: ["group1"])
end
To get a list of all available options, run
fastlane action testfairy
More information about the service on TestFairy.com.
More information about additional supported beta testing services can be found in the list of "Beta" actions
Release Notes
Automatically based on git commits
Your changelog changes, so it doesn't make a lot of sense to store a static release note in the Fastfile.
lane :beta do
  sync_code_signing
  build_app

  changelog_from_git_commits # this will generate the changelog based on your last commits
  upload_to_testflight
end
Get a list of all available options using fastlane action changelog_from_git_commits, here are some examples
changelog_from_git_commits(
  between: ['7b092b3', 'HEAD'], # Optional, lets you specify a revision/tag range between which to collect commit info
  merge_commit_filtering: 'exclude_merges' # Optional, lets you filter out merge commits
)
Prompt for changelog
You can automatically be asked for the changelog in your terminal using the prompt action:
lane :beta do
  # Variant 1: Ask for a one line input
  changelog = prompt(text: "Changelog: ")

  # Variant 2: Ask for a multi-line input
  #   The user confirms their input by typing `END` and Enter
  changelog = prompt(
    text: "Changelog: ",
    multi_line_end_keyword: "END"
  )

  sync_code_signing
  build_app

  upload_to_testflight(changelog: changelog)
end
Fetching the changelog from the file system or remote server
You can fetch values from anywhere in your Fastfile, including the file system and remote server
lane :beta do
  # Variant 1: Read from file system
  #   note the `..`, since fastlane runs in the _fastlane_ directory
  changelog = File.read("../Changelog.txt")

  # Variant 2: Fetch data from a remote web server
  changelog = download(url: "https://lookatmycms.com/changelog.txt")

  sync_code_signing
  build_app

  upload_to_testflight(changelog: changelog)
end
Best Practices
Manage devices and testers using _fastlane_
TestFlight
If you're using TestFlight you don't need to worry about UDIDs of your devices. Instead you just maintain a list of testers based on their Apple ID email address.
fastlane supports automatically registering devices using different approaches
boarding
boarding allows you set up a registration page for your beta testers, so they can enter their email address and start testing your application.
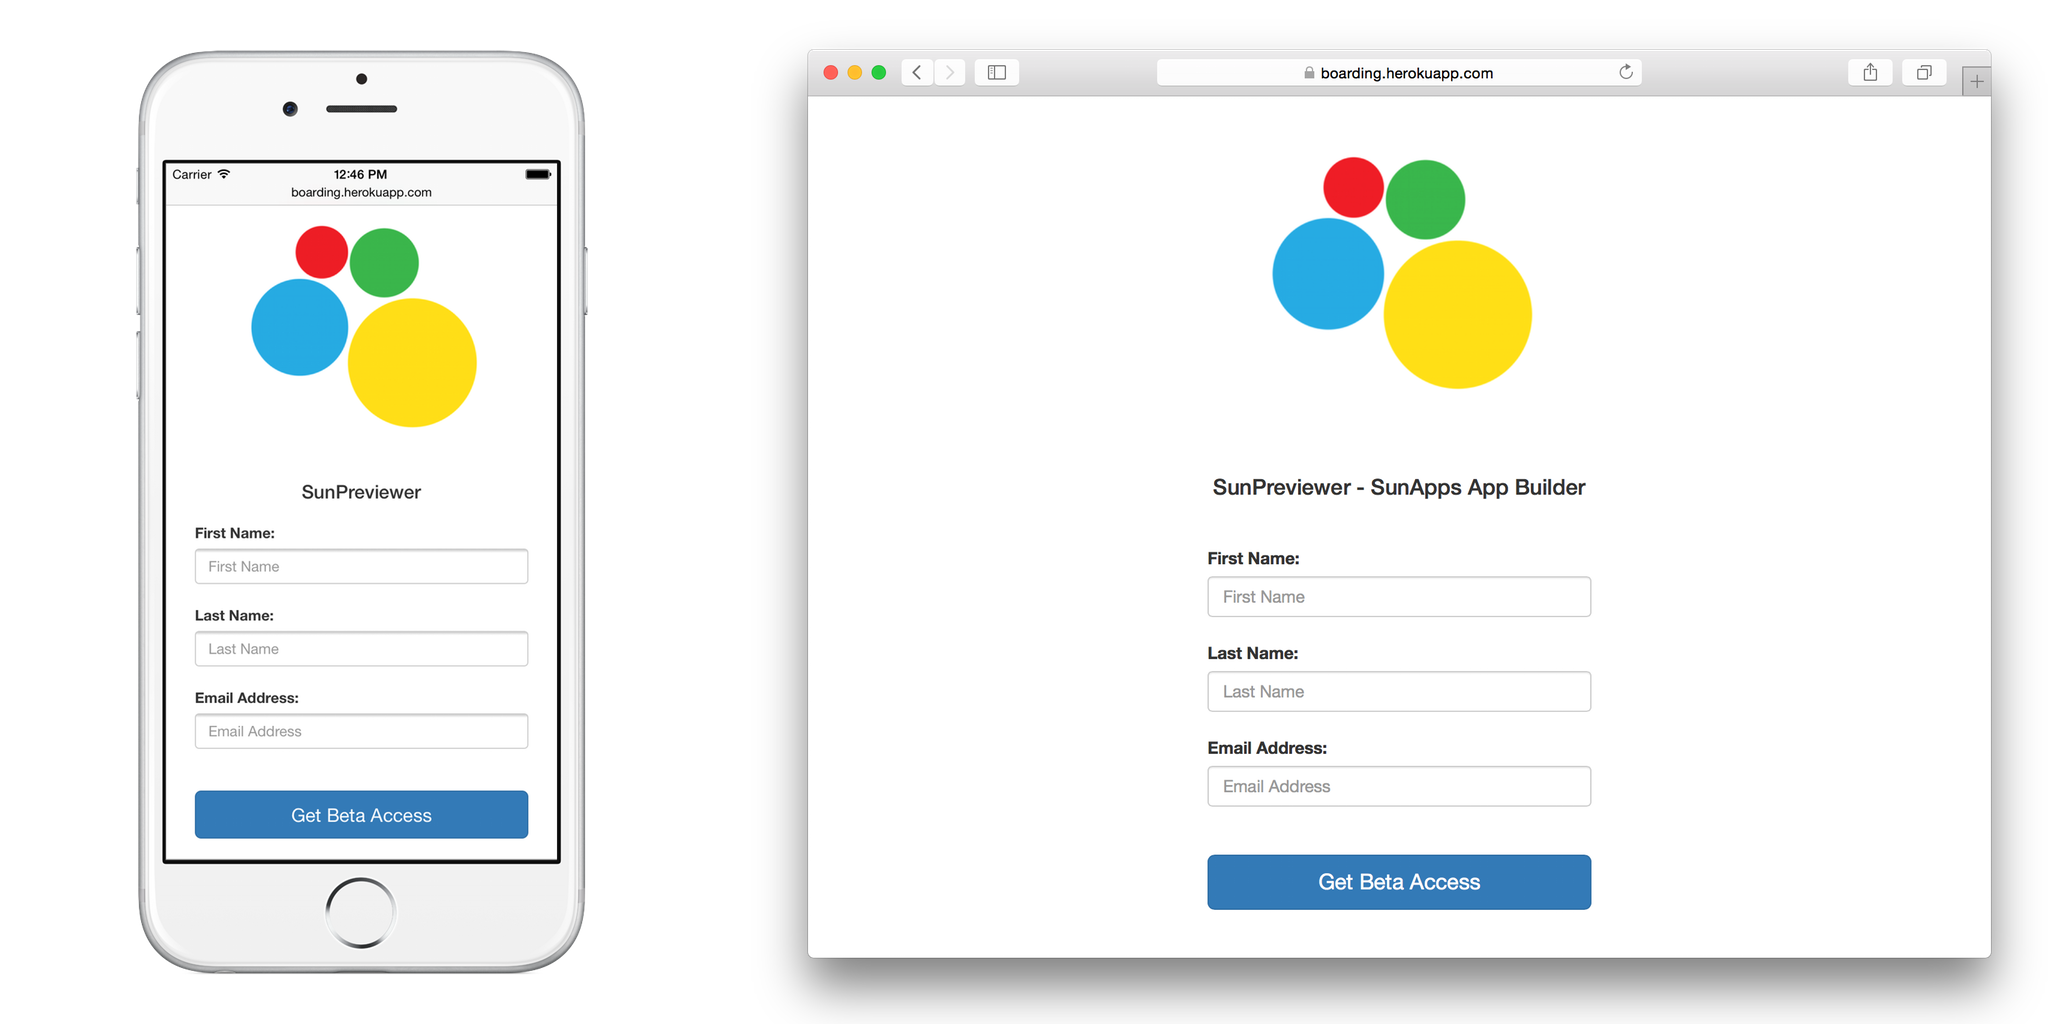
Check out the boarding GitHub repo for more information.
pilot
pilot is automatically installed with fastlane, you can use it to register individual testers to TestFlight
# Register a new external tester
fastlane pilot add email@invite.com

# Register a new external tester and add them to your app
fastlane pilot add email@invite.com -a com.app.name
Third party beta testing services
If you're using a third party beta testing service, you'll need to manage your registered devices and their UDIDs. fastlane already supports device registrations and updating provisioning profiles out of the box.
lane :beta do
  # Before calling match, we make sure all our devices are registered on the Apple Developer Portal
  register_devices(devices_file: "devices.txt")

  # After registering the new devices, we'll make sure to update the provisioning profile if necessary
  # Note how we make sure to pass "adhoc" to get and use a provisioning profile for Ad Hoc distribution
  sync_code_signing(force_for_new_devices: true, type: "adhoc")
  build_app
  # ...
end
The devices.txt should look like this:
Device ID Device Name
A123456789012345678901234567890123456789  DeviceName1
B123456789012345678901234567890123456789  DeviceName2
Incrementing the build number
Depending on the beta testing service you use, you'll have to increment the build number each time you upload a new build. This is a requirement for TestFlight for example.
To do so, there are some built-in fastlane actions available, here are some examples
Fetching the latest build number from TestFlight
The code sample below will use the latest build number from TestFlight and temporarily set it.
lane :beta do
  increment_build_number(
    build_number: latest_testflight_build_number + 1,
    xcodeproj: "Example.xcodeproj"
  )
end
Committing the build number to version control
The code sample below will increment the build number and commit the project changes to version control.
lane :beta do
  # Ensure that your git status is not dirty
  ensure_git_status_clean

  # Increment the build number (not the version number)
  # Providing the xcodeproj is optional
  increment_build_number(xcodeproj: "Example.xcodeproj")

  # Commit the version bump
  commit_version_bump(xcodeproj: "Example.xcodeproj")

  # Add a git tag for this build. This will automatically
  # use an appropriate git tag name
  add_git_tag

  # Push the new commit and tag back to your git remote
  push_to_git_remote
end
For all the steps above, there are more parameters available, run the following to get a full list:
fastlane action [action_name]
Use the number of commits
This isn't recommended, however some teams prefer this approach. You can use the number of commits of the current branch (via number_of_commits) as the build number. This will only work if you always run the build on the same branch.
lane :beta do
  increment_build_number(build_number: number_of_commits)
end